

Table of Contents
- How to Fix a Washing Machine That Is Off Balance: Start Here
- How to Load a Washing Machine Properly (Load Distribution)
- How to Check If Washer Is Level (Spirit Level Test)
- Adjusting Leveling Feet and Locking Nuts
- Identifying Spin Cycle Imbalance and Banging Noises
- Replacing Washer Shock Absorbers and Suspension Rods
- Visual Diagnostic Checklist: Tub Bearings, Spider Arm, and Shipping Bolts
- Conclusion: When to Call a Professional
- Frequently Asked Questions
Last Updated: October 7, 2026
How to Fix a Washing Machine That Is Off Balance: Start Here
A washing machine that is off balance is one of the most common appliance problems, and most of the time you can fix it in under an hour without a single tool.
Work through the causes in order, cheapest and easiest first.
We will show you how to fix a washing machine that is off balance step by step, from load distribution to worn suspension rods.
Work the list in order: load, then floor, then leveling feet, then mechanical parts. Skipping ahead to parts is the most common and most expensive mistake.
How to Load a Washing Machine Properly (Load Distribution)
Uneven load distribution causes most off-balance washers, and it costs nothing to fix.
Washing one large item alone, like a bath mat or comforter, is a common mistake: it clings to one side of the drum and throws everything off.
Load your washer the right way:
- Mix large and small items together
- Spread heavy items like jeans and towels around the drum
- Avoid washing one bulky item by itself
For top-loaders, items should sit loosely around the agitator, not piled on one side. For front-loaders, mix fabrics so weight spreads evenly as the drum turns.
If redistributing the load fixes the shaking, you are done. If not, move on.
How to Check If Washer Is Level (Spirit Level Test)
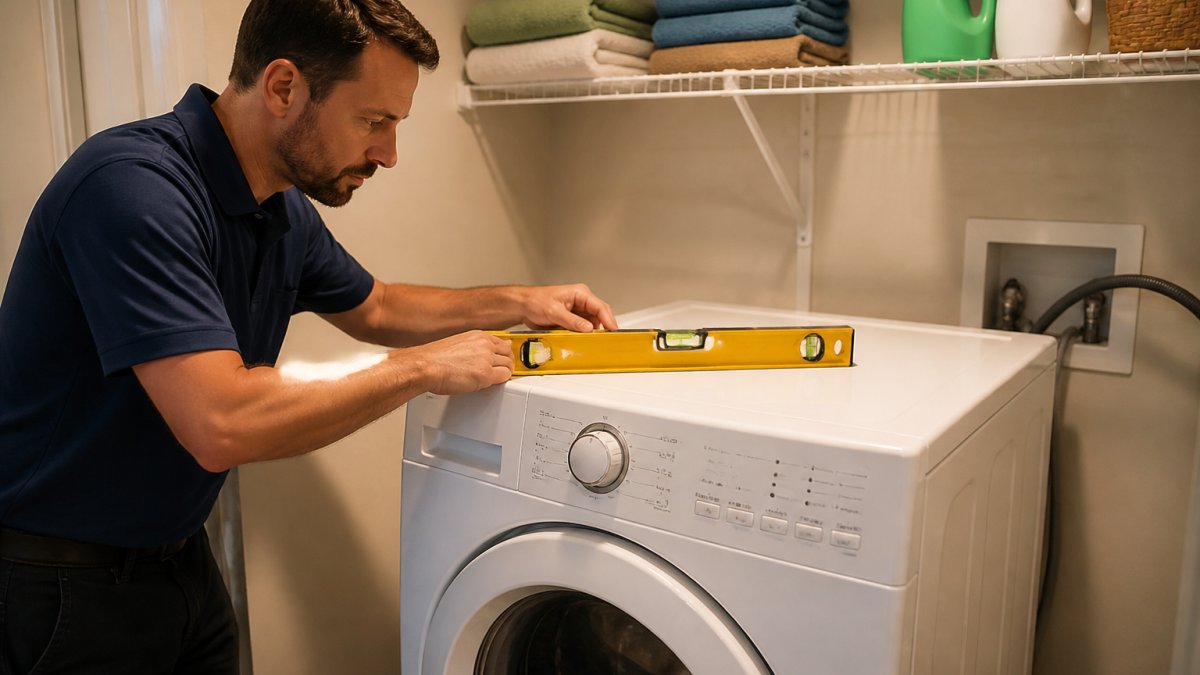
A washer that is not level will shake no matter how well you load it. Learning how to check if washer is level takes about two minutes with a spirit level.
Here is the simple test:
- Place a spirit level on top of the washer, front to back.
- Check the bubble. If it is not centered, the machine is not level.
- Repeat the check side to side.
- Press down on each corner. If a corner dips, the floor or a foot is the problem.
Floor stability matters as much as the machine. A weak or uneven floor, common in older homes and upper floors, lets the washer rock even when it is level.
Adjusting Leveling Feet and Locking Nuts
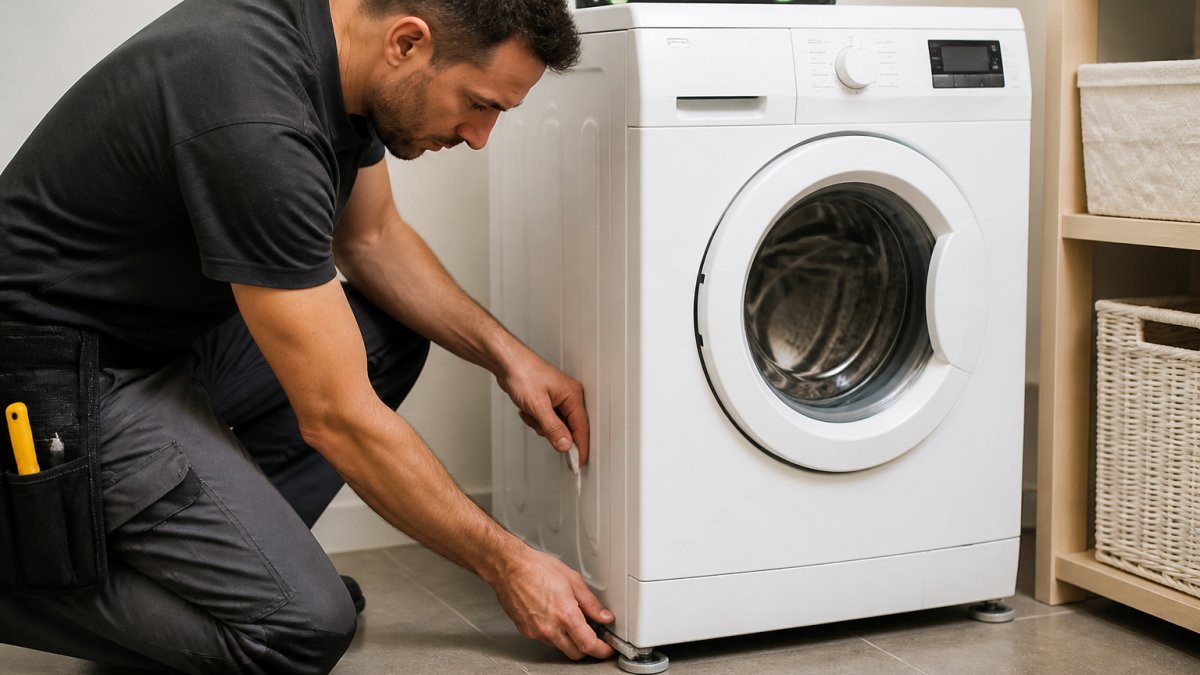
Leveling feet and locking nuts are the front-line adjustment for a washer that rocks. Each foot has a threaded leg and a locking nut that holds the setting in place.
To adjust them:
- Tilt the machine slightly and locate the four leveling feet
- Loosen the locking nut on the foot that needs raising
- Turn the foot to raise or lower that corner
A loose locking nut lets the foot drift out of adjustment within a few cycles, so tighten every nut when you are done.
Skipping the locking nut is the top reason a leveling fix fails within a week. The foot slowly backs out, and the shaking returns.
Identifying Spin Cycle Imbalance and Banging Noises
Banging noises during the spin cycle point to a specific set of causes, and the sound plus the load tells you which one. A rhythmic thump usually means an uneven load; a loud bang or a machine that walks means something is loose or worn. Rule out the load first, because fabric weight and load size cause more spin-cycle imbalance than any worn part.
Match the load to the drum, not just the drum to the load
Every washer has a rated capacity in cubic feet, and that rating assumes a mixed load. Overloading past the rating, or washing one heavy item alone, overloads one side of the drum even when total weight is under the limit.
Use these practical weight and fabric guidelines:
- Heavy, water-holding fabrics (bath mats, denim, terry towels, comforters) can double or triple in weight once wet. One king comforter can exceed the balance capacity of a standard top-load drum on its own.
- Light, low-absorbency fabrics (synthetics, athletic wear, sheets) stay close to their dry weight and rarely cause imbalance unless bunched.
- Mixed loads distribute weight best. A common pattern is two or three heavy items paired with several lighter items so the mass spreads around the drum.
A useful rule of thumb: fill the drum loosely to about three-quarters full, and never pack it so items cannot tumble. If you can press the load down and it springs back, it is too full.
Yes/No diagnostic flow for spin-cycle shaking
Work this flow in order. Stop at the first “Yes” and fix that cause before moving on.
- Does the shaking stop after you pause the cycle and redistribute the load?
- Yes → load distribution. Done.
- No → go to step 2.
- Is the load a single heavy item or over the drum’s rated capacity?
- Yes → remove the item or split the load. Re-run the spin.
- No → go to step 3.
- Does the machine shake on every spin, even with a light, even load?
- Yes → leveling, floor, or a worn suspension part. Go to the leveling section, then the shock/rod section.
- No → go to step 4.
- Does the machine walk across the floor or bang hard against the cabinet?
- Yes → severe imbalance or a failing part. Check leveling feet and locking nuts first, then suspension.
- No → go to step 5.
- Does the machine stop or slow mid-spin on its own?
- Yes → the imbalance sensor is working. Recheck load and level before assuming a mechanical failure.
- No → the cause is likely mechanical. Move to the shock absorber and suspension rod section.
What each sound usually means
- Rhythmic thump that fades after redistribution: load distribution.
- Shaking on every spin: leveling or floor.
- Banging that gets worse over time: worn shock absorbers or suspension rods.
Many modern washers have an imbalance sensor that pauses or slows the spin when it detects a problem. If your machine keeps stopping mid-spin, the sensor is doing its job, check the load and level before assuming a mechanical failure.
If the shaking started right after a move or a new delivery, skip the load questions and check for shipping bolts first. It is the fastest fix on this list.
Replacing Washer Shock Absorbers and Suspension Rods
Replacing washer shock absorbers and suspension rods is the next step when leveling and loading do not solve the shaking. These parts hold the tub steady during the spin cycle and wear out over time. Front-loaders use shock absorbers, similar to car shocks; top-loaders use suspension rods that hang the tub from the frame. When they wear, the tub moves too freely and bangs against the cabinet.
The bounce test: how to confirm worn suspension
Before you buy parts, confirm the diagnosis with a two-minute bounce test.
- Open the lid or door and press down firmly on the top edge of the tub.
- Release and watch how it settles.
- A healthy tub returns to center in one or two bounces and stops.
- A worn tub keeps bouncing, rocks side to side, or bottoms out against the cabinet.
Repeat on each side of the tub. If one side bounces more, the rod or shock on that side is the likely culprit.
What you are replacing, and how many
- Top-load washers typically use four suspension rods, one at each corner of the tub. They are usually sold as a set, and replacing all four at once is the common practice because the remaining rods are the same age and will fail soon after.
- Front-load washers typically use two to four shock absorbers, mounted between the tub and the base frame. Replace them in pairs at minimum, and preferably all of them together.
- Some top-load models also use a counterweight or spring in addition to the rods. Check your model’s parts diagram before ordering.
Signs it is time to replace them
- The tub bounces freely when you press down on it
- Banging continues after leveling and load fixes
- The machine shakes hard even with a light, even load
What the repair involves
On a top-load washer, replacing suspension rods usually means removing the cabinet or front panel, tilting the tub, and unhooking each rod from the frame and tub.
On a front-load washer, replacing shocks often means removing the top and front panels and, on some models, the door boot and counterweight to reach the lower mounts. This is a more involved repair, and where many homeowners call a professional.
Replace suspension parts as a set, not one at a time. A single new rod or shock paired with three worn ones will not restore balance, and you will be back inside the machine within weeks.
If the bounce test shows free movement and the banging continues after leveling and load fixes, the suspension is the cause. Confirm the part count for your model before ordering, and replace the full set.
Visual Diagnostic Checklist: Tub Bearings, Spider Arm, and Shipping Bolts
Some causes of an off-balance washer are mechanical wear, and a quick visual check can spot them.
Tub bearings support the spinning drum. When they wear, you hear grinding or roaring along with the shaking.
The spider arm is the metal bracket connecting the drum to the shaft.
Shipping bolts are the large bolts that lock the drum during transport.
If you just moved or bought a new front-loading washer and it shakes hard from day one, check for shipping bolts first. It is the fastest fix on this list.
Conclusion: When to Call a Professional
If you have worked through load distribution, leveling, and the visual checklist and your washer still shakes, the problem is mechanical.
That is where we come in. Tampa Bay Appliance Repair LLC sends licensed and insured technicians who diagnose the issue and give you a clear answer before any repair work starts.
Book online with Tampa Bay Appliance Repair LLC and get your laundry routine back on track.
When should I call a professional for an off-balance washer?
Call a professional when leveling and load fixes do not stop the shaking. Grinding noises, tub play, or a cracked spider arm point to worn parts that need replacement. A licensed technician can confirm the diagnosis and handle the teardown safely.
Can an off-balance washer fix itself?
No. An off-balance washer keeps shaking until you correct the cause. Redistributing the load may solve it for one cycle, but if the machine is not level or a part is worn, the problem returns on the next spin.
Why does my washer only shake on the spin cycle?
The spin cycle turns the drum fastest, so any imbalance shows up there first. A level machine with an even load spins smoothly. Shaking only on spin usually means the load shifted or the machine is not level.
How do I know if my washer needs new suspension rods?
Press down on the tub from the top. If it bounces freely and does not settle quickly, the suspension rods or shocks are worn. Banging that continues after leveling confirms it.
Frequently Asked Questions
Can you rebalance a washer yourself?
Yes, many off balance washer issues are fixable on your own. Start by redistributing the load evenly around the agitator or drum. If that does not help, check whether the machine sits level using a spirit level, then adjust the leveling feet and tighten the locking nuts. Worn shock absorbers or suspension rods require replacement parts but are still within reach for a confident DIYer. If the tub wobbles freely by hand or you see rust near the spider arm, call a licensed technician.
Why is my washing machine shaking violently in spin cycle?
Violent shaking during the spin cycle usually points to one of four causes: an uneven load, a machine that is not level, worn shock absorbers or suspension rods, or shipping bolts that were never removed after installation. Front-loading washers are especially sensitive to load distribution because the drum spins horizontally. If you have ruled out load and leveling issues and the shaking continues, the suspension components are the likely culprit and should be inspected by a repair professional.
Does an unbalanced washer damage the machine?
Yes. Repeated off balance cycles put stress on the tub bearings, spider arm, drive motor, and drum alignment. Over time this mechanical wear leads to banging noises, a walking machine that shifts across the floor, and eventually a failed spin cycle. Catching the problem early, whether through load redistribution or replacing worn shock absorbers, prevents a small fix from turning into a major appliance repair.
How do I know if my washing machine is level?
Place a spirit level on top of the machine, front to back and side to side. If the bubble is not centered in either direction, the washer is not level. You can also try rocking the machine gently by hand; if it wobbles, at least one leveling foot is not making solid contact with the floor. Adjust the feet, tighten the locking nuts, and recheck with the spirit level before running a test cycle.