
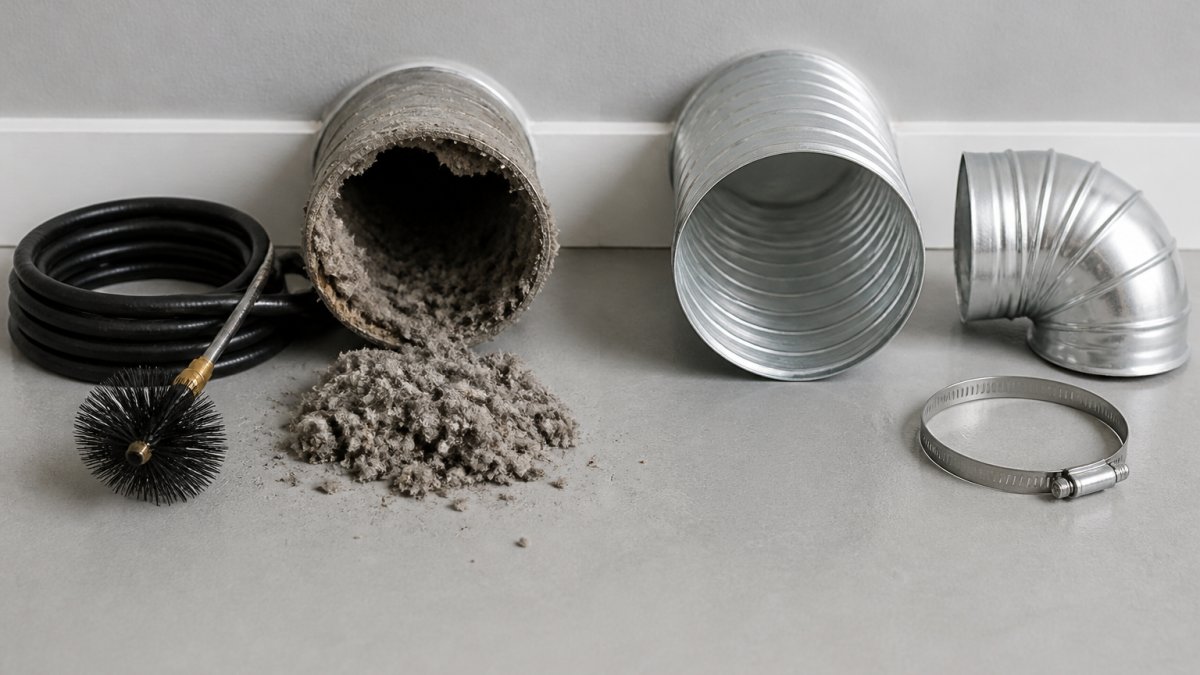

Table of Contents
- Dryer Vent Cleaning vs Replacement Cost: Quick Comparison
- What Dryer Vent Cleaning Cost Includes
- What Dryer Vent Replacement Cost Includes
- Signs Your Dryer Vent Needs Cleaning
- Signs Your Dryer Vent Needs Replacement
- Factors That Affect Cleaning and Replacement Costs
- How to Choose: Cleaning or Replacement
- Getting an Accurate Quote
- Frequently Asked Questions
Last Updated: October 12, 2026
Dryer Vent Cleaning vs Replacement Cost: Quick Comparison
Deciding whether to clean or replace your dryer vent is a common dilemma when a dryer stops performing. The choice between dryer vent cleaning vs replacement cost depends on your vent’s age, the cause of the problem, and your upfront budget. At Tampa Bay Appliance Repair LLC, we help Tampa Bay homeowners make this call every week, and the answer is rarely one-size-fits-all.
A simple cleaning often restores near-perfect performance, while other vents have deteriorated beyond repair. Knowing which situation you’re in before calling a technician is key. Below, we break down the signs pointing to each, and a framework for deciding.
Comparison Table
| Service | Typical Cost Range | Best For | Timeline |
|---|---|---|---|
| Standard Cleaning | $100-$170 | Short vents, accessible ducts, lint buildup only | Same day or next day |
| Difficult-Access Cleaning | $200-$350 | Long runs, roof access, multiple bends | 1-2 days |
| Full Vent Replacement | $300-$600+ | Damaged ducts, crushed lines, code violations | 1-3 days |
| Cleaning + Minor Repair | $200-$300 | Partial damage, seal issues, single section replacement | 1-2 days |
What Dryer Vent Cleaning Cost Includes
A professional dryer vent cleaning removes lint, debris, and blockages from your exhaust duct. This service restores airflow, improves drying times, and eliminates fire hazards. The cost varies based on how straightforward the job is.
Standard Residential Cleaning
Standard residential cleaning typically costs between $100 and $170, according to industry references like Filterbuy’s dryer vent cleaning cost guide, with most homeowners paying around $130 for a straightforward job. This price covers a basic vent system: a dryer located near an exterior wall, a relatively short duct run (under 20 feet), and no significant obstructions.
What’s included: A technician disconnects your dryer, vacuums out lint and debris with specialized equipment, inspects for damage, and reconnects everything. The process usually takes 1-2 hours. Accessible vents in convenient locations fall into this standard category.
The real value is fire prevention: lint buildup is a leading cause of house fires, and professional cleaning removes risks DIY vacuuming misses. You also get faster drying times, clothes that took 45 minutes may dry in 30 after cleaning.
Long Vent Runs and Difficult Access
When your dryer is far from an exterior wall or the vent runs through an attic or crawlspace, costs jump to $200-$350. According to Emerson Pro Services’ guide to vent cleaning factors, difficult-to-access vents and long duct runs significantly increase labor time and equipment needs.
Why the increase? Technicians need longer hoses, more time in tight spaces, and sometimes video inspection cameras to locate blockages.
What you’re paying for is complexity: a 40-foot run takes three times longer than a 15-foot run, and roof access requires ladders, harnesses, and careful work. These charges reflect actual labor, not premiums.
What Dryer Vent Replacement Cost Includes
Replacement means removing your old vent system entirely and installing new ductwork, often with new materials and a new termination point. This is a bigger job than cleaning and costs more, but sometimes it’s the only option.
Materials and Labor
A full vent replacement depends on scope. This includes new duct material (flexible vinyl, semi-rigid aluminum, or rigid metal), a new exterior termination cap, fasteners, and labor.
A short, accessible replacement takes 2-3 hours, while a complex reroute through walls or attic space can take a full day or more.
What’s included: complete ductwork replacement, new exterior termination, sealing and fastening to code, and removal of the old vent. Some contractors also include a post-installation inspection to confirm proper airflow and no leaks.
Scope Variations
Not all replacements are equal. A like-for-like swap costs less than a reroute, which is needed when the vent path violates code, passes through unconditioned spaces, or is damaged beyond practical repair.
If your vent was crushed, kinked, or partially collapsed, replacement is usually the only fix. Patching doesn’t work on structural damage. If your vent is the old flexible plastic type (which can trap lint and is now code-prohibited in many areas), replacement with rigid metal or approved semi-rigid material is required.
Signs Your Dryer Vent Needs Cleaning
Your dryer gives clear signals when its vent is clogged. Recognizing these signs early saves you money and prevents fire risk.
Clothes take much longer to dry. If a load that dried in 30 minutes now takes 50, restricted airflow is the culprit: lint blocks exhaust and traps moisture in the drum.
The dryer feels hot to the touch, especially the back or top. Lint insulates and traps heat, stressing the motor and heating element and creating a fire hazard. Cleaning usually solves this within days.
You notice lint around the dryer, on the floor, or near the exterior vent cap, meaning lint is escaping because it can’t exit the main duct.
The vent hood flap doesn’t open when the dryer runs. It should pop open as warm air exits; if it stays closed, airflow is blocked. Sometimes lint jams it, but it can signal a deeper blockage.
A burning smell during drying is a red flag: lint igniting inside the duct is rare but possible. Stop using the dryer immediately and call a professional for urgent cleaning or, if the duct is damaged, replacement.
Signs Your Dryer Vent Needs Replacement
Some problems can’t be fixed by cleaning alone. Knowing the difference between a cleaning job and a replacement job saves you money and prevents repeated service calls.
The vent duct is kinked, crushed, or visibly damaged. Cleaning won’t restore a flattened or sharply bent section; kinked ducts trap lint and restrict airflow permanently, so replacing that section or the entire run is necessary.
You have old flexible plastic ductwork. Older homes used flexible plastic vents, now prohibited by code in most areas.
The vent leaks at seams or connections. Small leaks can be sealed with foil tape, but multiple leaking joints or holes make replacement more cost-effective than repeated repairs.
The vent termination is damaged or missing. A rusted, cracked cap or broken flap needs a new termination. Sometimes this is replaced without the entire duct, but a corroded connection point may require removing the whole duct.
Your dryer still isn’t drying properly after a professional cleaning. If drying times haven’t improved after a thorough cleaning, the duct may be damaged internally or severely undersized, pointing to replacement.
Factors That Affect Cleaning and Replacement Costs
Several variables determine whether your quote is on the low or high end of the price range.
Vent Length and Configuration
A 15-foot straight run from dryer to exterior wall costs less than a 40-foot run through an attic with three turns and a roof termination. Each additional 10 feet adds labor time, and each bend adds complexity.
Most codes allow a maximum duct length of 35 feet (reduced 2.5 feet per 45-degree bend or 5 feet per 90-degree bend). Exceeding this may require rerouting or relocating the dryer, significantly increasing costs.
Access Difficulty
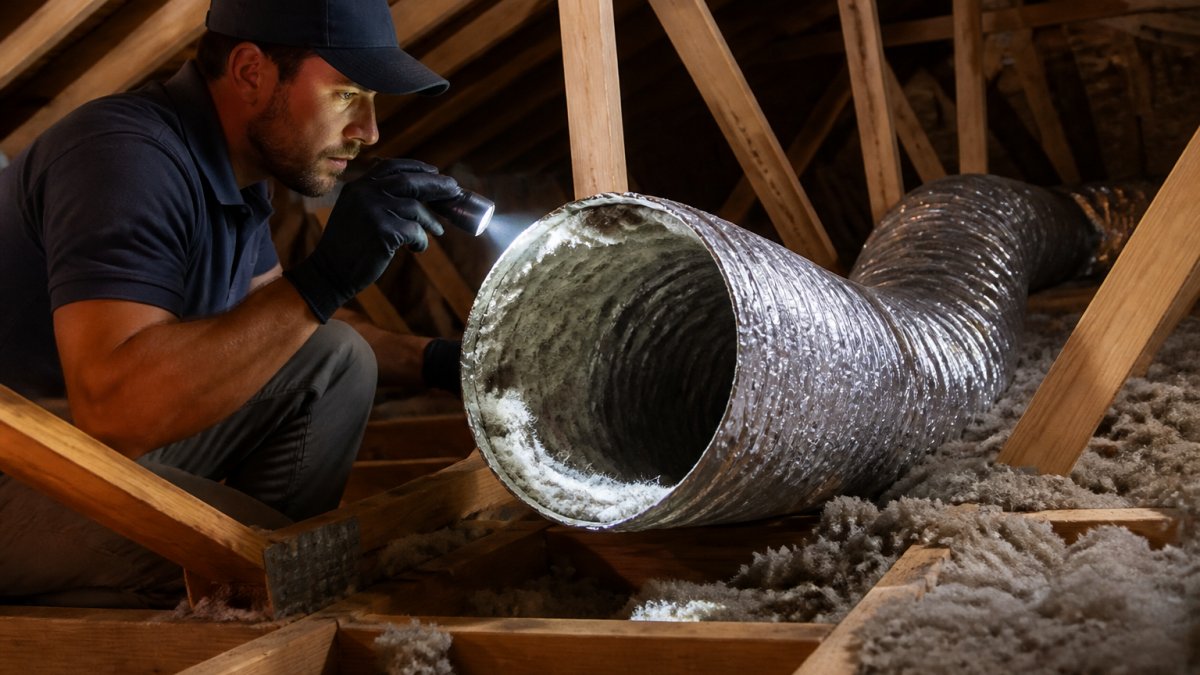
An accessible laundry room with a nearby exterior wall termination makes cleaning straightforward. A basement dryer venting through the attic costs more, and roof-access terminations add $50-$100 for safety equipment and time.
Crawlspace access, tight attics, or vents through finished walls all increase labor; a cramped attic takes longer than an open laundry room.
Additional Repairs
A cleaning can reveal secondary issues: a damaged flapper, rusted termination cap, or partially crushed duct section. A full replacement avoids surprise add-ons since the entire system is new.
If your vent has multiple problems, old plastic ductwork, a damaged termination, and a kinked section, cleaning alone won’t fix everything. Replacement addresses all issues at once, despite the higher upfront cost.
How to Choose: Cleaning or Replacement
The decision comes down to three factors: the age of your vent, the severity of the problem, and your budget for long-term maintenance.
Decision Framework
Choose cleaning if:
- Your dryer is less than 10 years old and the vent has never been professionally cleaned
- Drying times have declined but the duct itself shows no visible damage
- Your vent is modern (rigid metal or approved semi-rigid material)
- The vent runs a reasonable distance (under 30 feet) with few bends
- You’re willing to schedule cleaning every 1-2 years as preventive maintenance
Choose replacement if:
- Your vent is kinked, crushed, or severely damaged
- You have old plastic ductwork that violates current code
- The vent termination is rusted or non-functional
- Multiple problems exist (bad flapper, damaged duct, wrong material)
- A professional cleaning didn’t restore normal drying performance
- Your vent run is unusually long or complex, making future cleaning difficult and costly
Consider a hybrid approach:
- Clean now, replace the damaged section later. If a technician identifies one bad section of duct (say, 5 feet of kinked metal), you might clean the rest and replace just that section.
- This works if the damage is isolated and the rest of the vent is sound.
Lifecycle Cost Considerations
Think beyond the immediate bill: a cleaning every 2 years can be a recurring expense, while a replacement lasts 10-15 years with minimal maintenance. Long-term homeowners recoup the cost.
If your dryer is old and you might replace it soon, cleaning makes sense now rather than investing $500 in a new vent for a dryer you’re about to retire.
Consider your vent’s history: three professional cleanings in five years means it’s probably time to replace it. Chronic buildup suggests the duct is undersized, poorly configured, or deteriorating, and repeated cleaning becomes expensive.
Getting an Accurate Quote
When you call for a quote, here’s what a reputable technician should tell you before work begins.
A good estimate includes the service type (cleaning, replacement, or hybrid), vent length and configuration, access difficulty, additional repairs, and total cost.
Ask whether the diagnostic fee applies to the final bill. Most reputable services, including Tampa Bay Appliance Repair LLC, apply it toward repairs, so you’re not paying twice if you move forward.
Get at least two quotes for complex or expensive jobs. Technicians may propose different solutions, one recommending full replacement, another cleaning plus a section replacement. Understanding each recommendation’s reasoning helps you decide.
Ask about vent material. If replacement is recommended, confirm whether the new duct will be rigid metal (best), approved semi-rigid (acceptable), or flexible (short runs only). Rigid metal costs slightly more but lasts longer and traps less lint.
Confirm the timeline: standard cleaning usually happens same-day or within 24 hours, while replacement takes 1-3 days depending on complexity. If you’re without a dryer, this helps you plan.
When your dryer isn’t performing, the difference between cleaning and replacement comes down to the condition of your vent system and your long-term plans. Our licensed, EPA-certified technicians serve the Tampa Bay community with same-day appointments available. Book Online to schedule your inspection and get a clear, upfront quote, no surprises, no pressure.
Frequently Asked Questions
How much does dryer vent cleaning usually cost?
The final price for professional dryer vent cleaning depends on your vent length, access difficulty, and whether additional repairs are needed. Contact a licensed technician in your area for an accurate estimate based on your specific setup.
What’s the difference between cleaning and replacing a dryer vent?
Cleaning removes lint buildup and restores airflow without replacing the duct itself. Replacement involves installing new ductwork, usually rigid metal or flexible duct, plus labor and materials. Choose cleaning if your vent is intact but clogged; choose replacement if the duct is damaged, rusted, kinked, or too deteriorated to function properly.
What signs indicate my dryer vent needs cleaning?
Your dryer vent needs cleaning if clothes take longer than 45 minutes to dry, lint accumulates around the dryer, the vent hood flap doesn’t open fully, or you notice a burning smell during operation. These signs point to restricted airflow from lint blockage. Regular annual cleaning prevents these issues and maintains energy efficiency.
When should I replace a dryer vent instead of cleaning it?
Replace your dryer vent if the duct is crushed, kinked, rusted through, or damaged beyond repair. If the vent material is deteriorated flexible duct that collapses easily or if it has separated at joints, replacement is safer and more durable than repeated cleaning. A professional inspection will determine whether cleaning can restore function or replacement is necessary.
Is it cheaper to clean or replace a dryer vent?
Cleaning is almost always cheaper upfront compared to replacement. However, if your vent requires frequent cleaning due to damage or poor design, replacement with a proper rigid metal duct may save money over time by eliminating recurring service calls and improving long-term reliability.